Dimension Comparison Between Customer Drawings and Recreated CAD Files
Comparing customer-supplied drawings with internally recreated CAD drawings, reducing manual verification from hours to minutes.

The Problem
Manual Verification Bottleneck
Quality engineers spend 2 to 3 hours per drawing pair manually cross-checking 50 to 150 dimensions. The process is tedious and error-prone, creating a bottleneck in the drawing release cycle.
Missed Dimensions
Manual comparison overlooks 5 to 10 percent of dimensions, especially in complex drawings with dense annotations. When critical measurements are missing from recreated drawings, manufacturing errors follow.
No Structured Tracking
Discrepancies are identified ad hoc with no clear categorization. Missing dimensions, value mismatches, and tolerance changes are all treated the same, slowing root cause analysis.
Delayed Release Cycles
Manual verification adds 1 to 2 days per drawing set. Across 20 to 30 recreated drawings, delays compound into 4 to 6 weeks, directly impacting manufacturing schedules.
The Road to Implementation
We implemented a dual extraction and comparison pipeline that processes both customer-supplied drawings and internally recreated CAD drawings, automatically identifying missing, modified, or inconsistent dimensions to verify dimensional accuracy before manufacturing release.
Dual Extraction Pipeline
Implementation of a single extraction workflow that processes both customer-supplied drawings and internally recreated CAD drawings, enabling direct comparison from different sources.
Multi-Format Dimension Detection
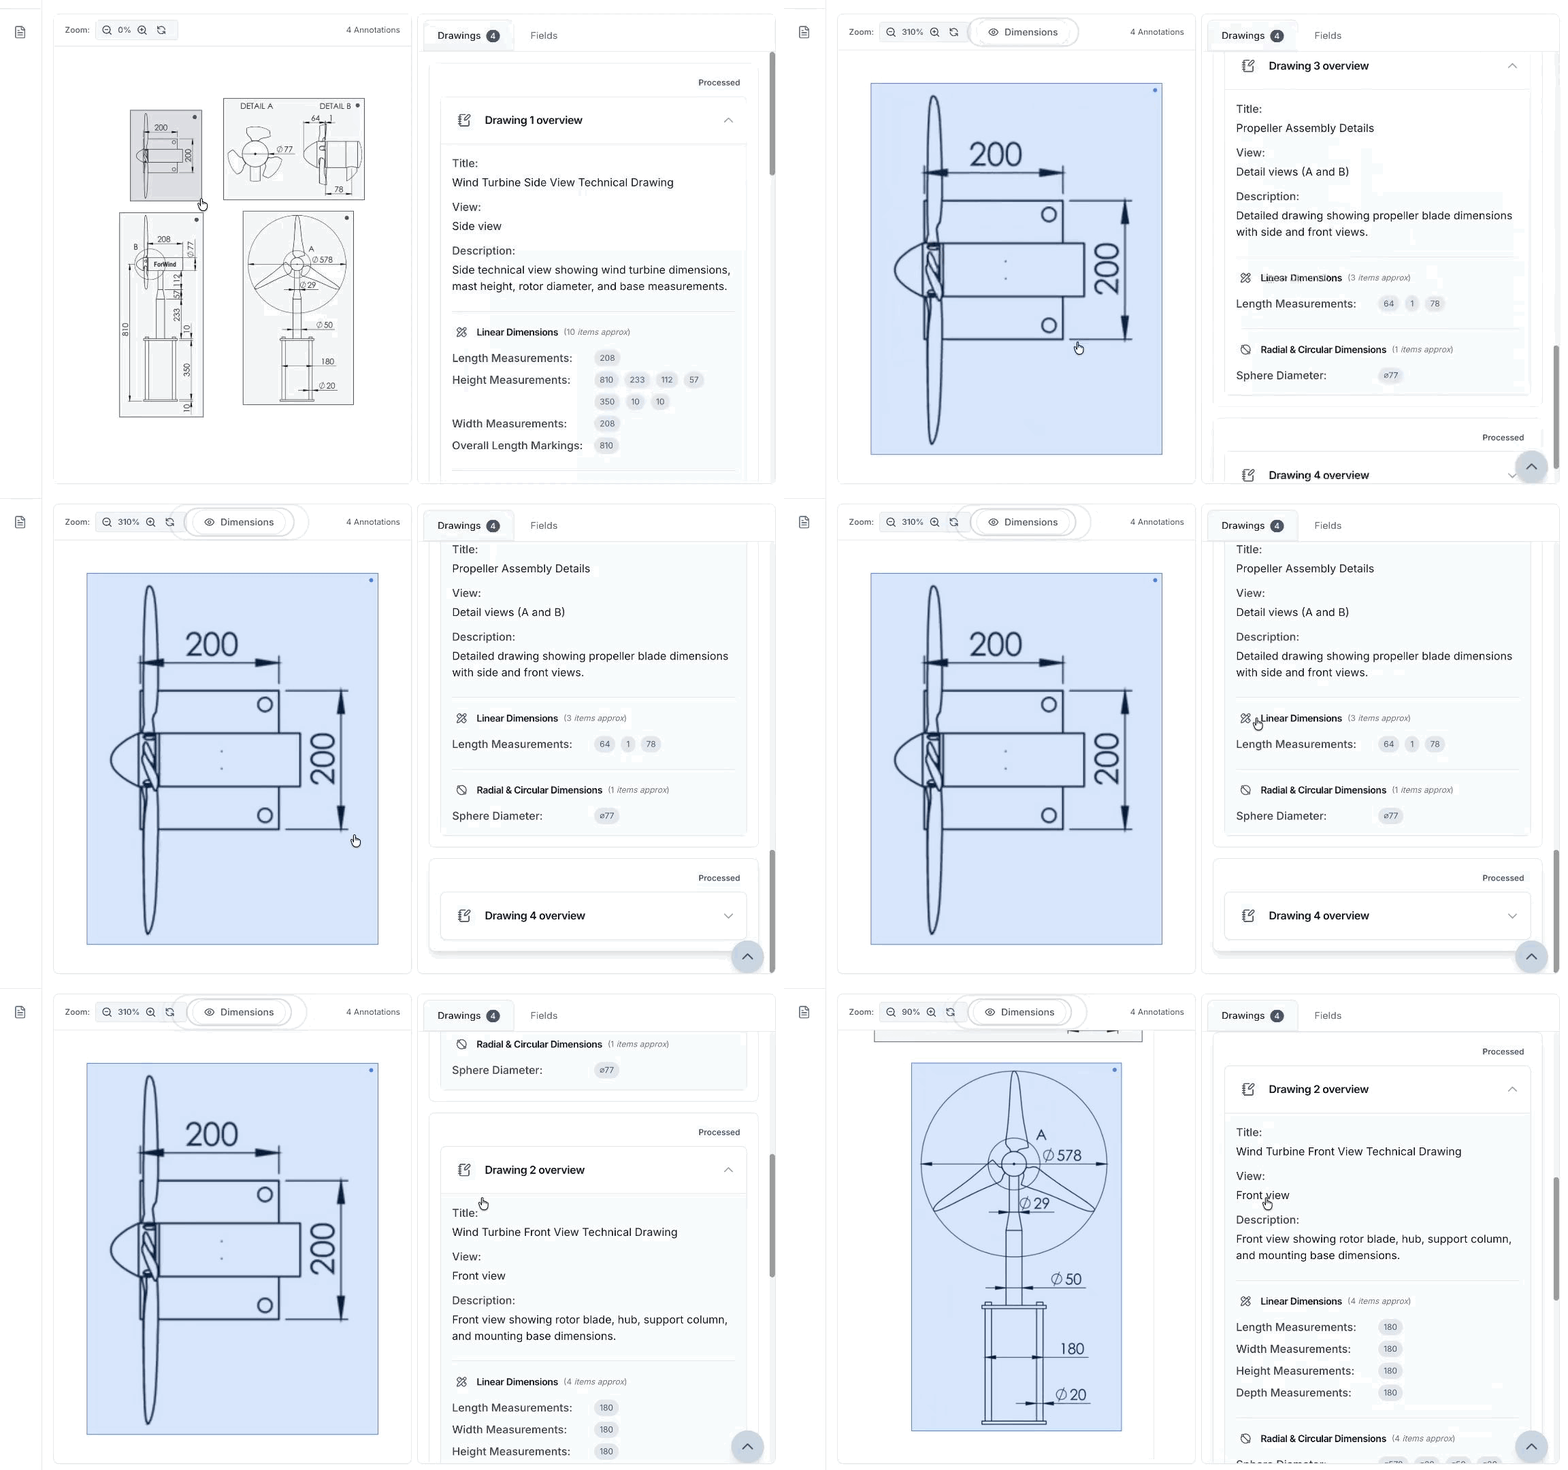
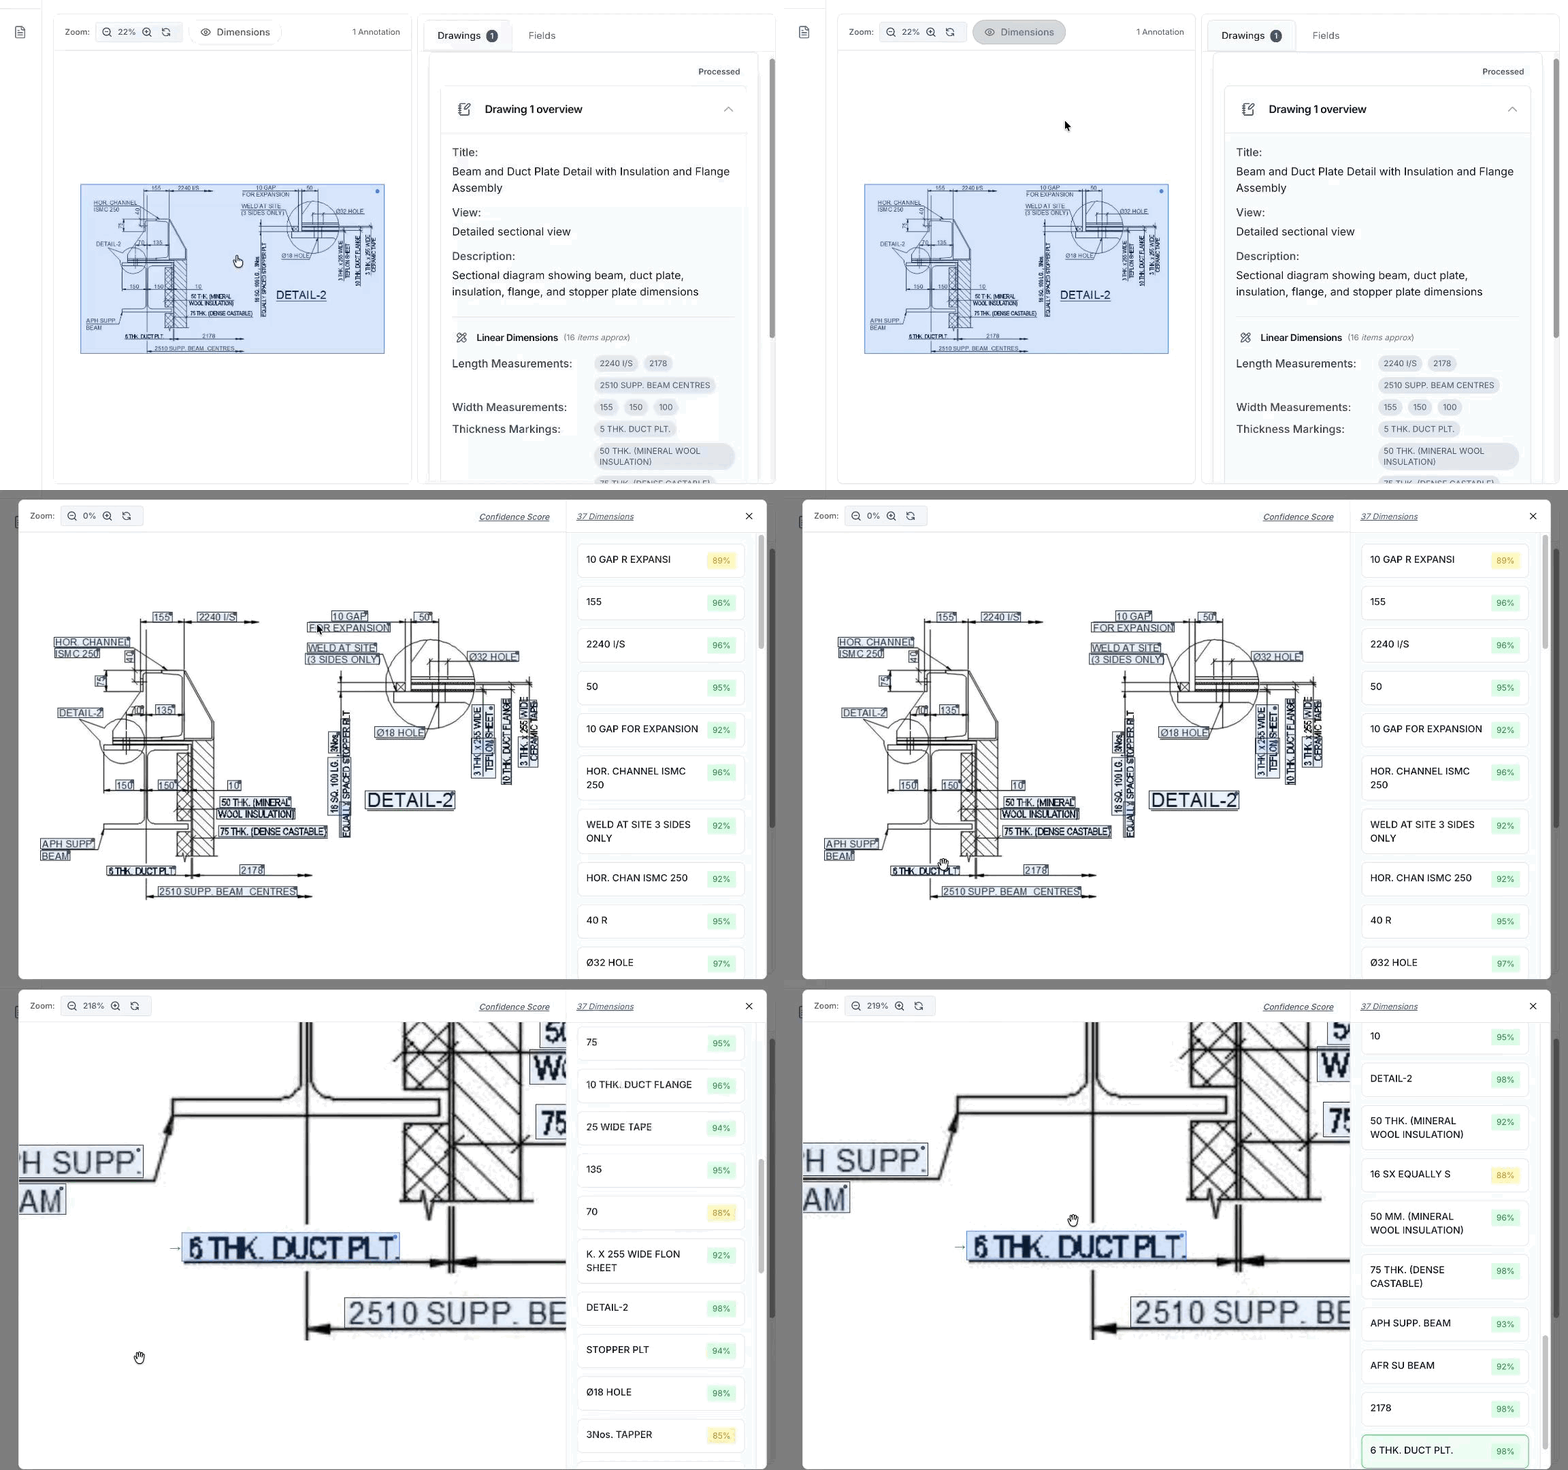
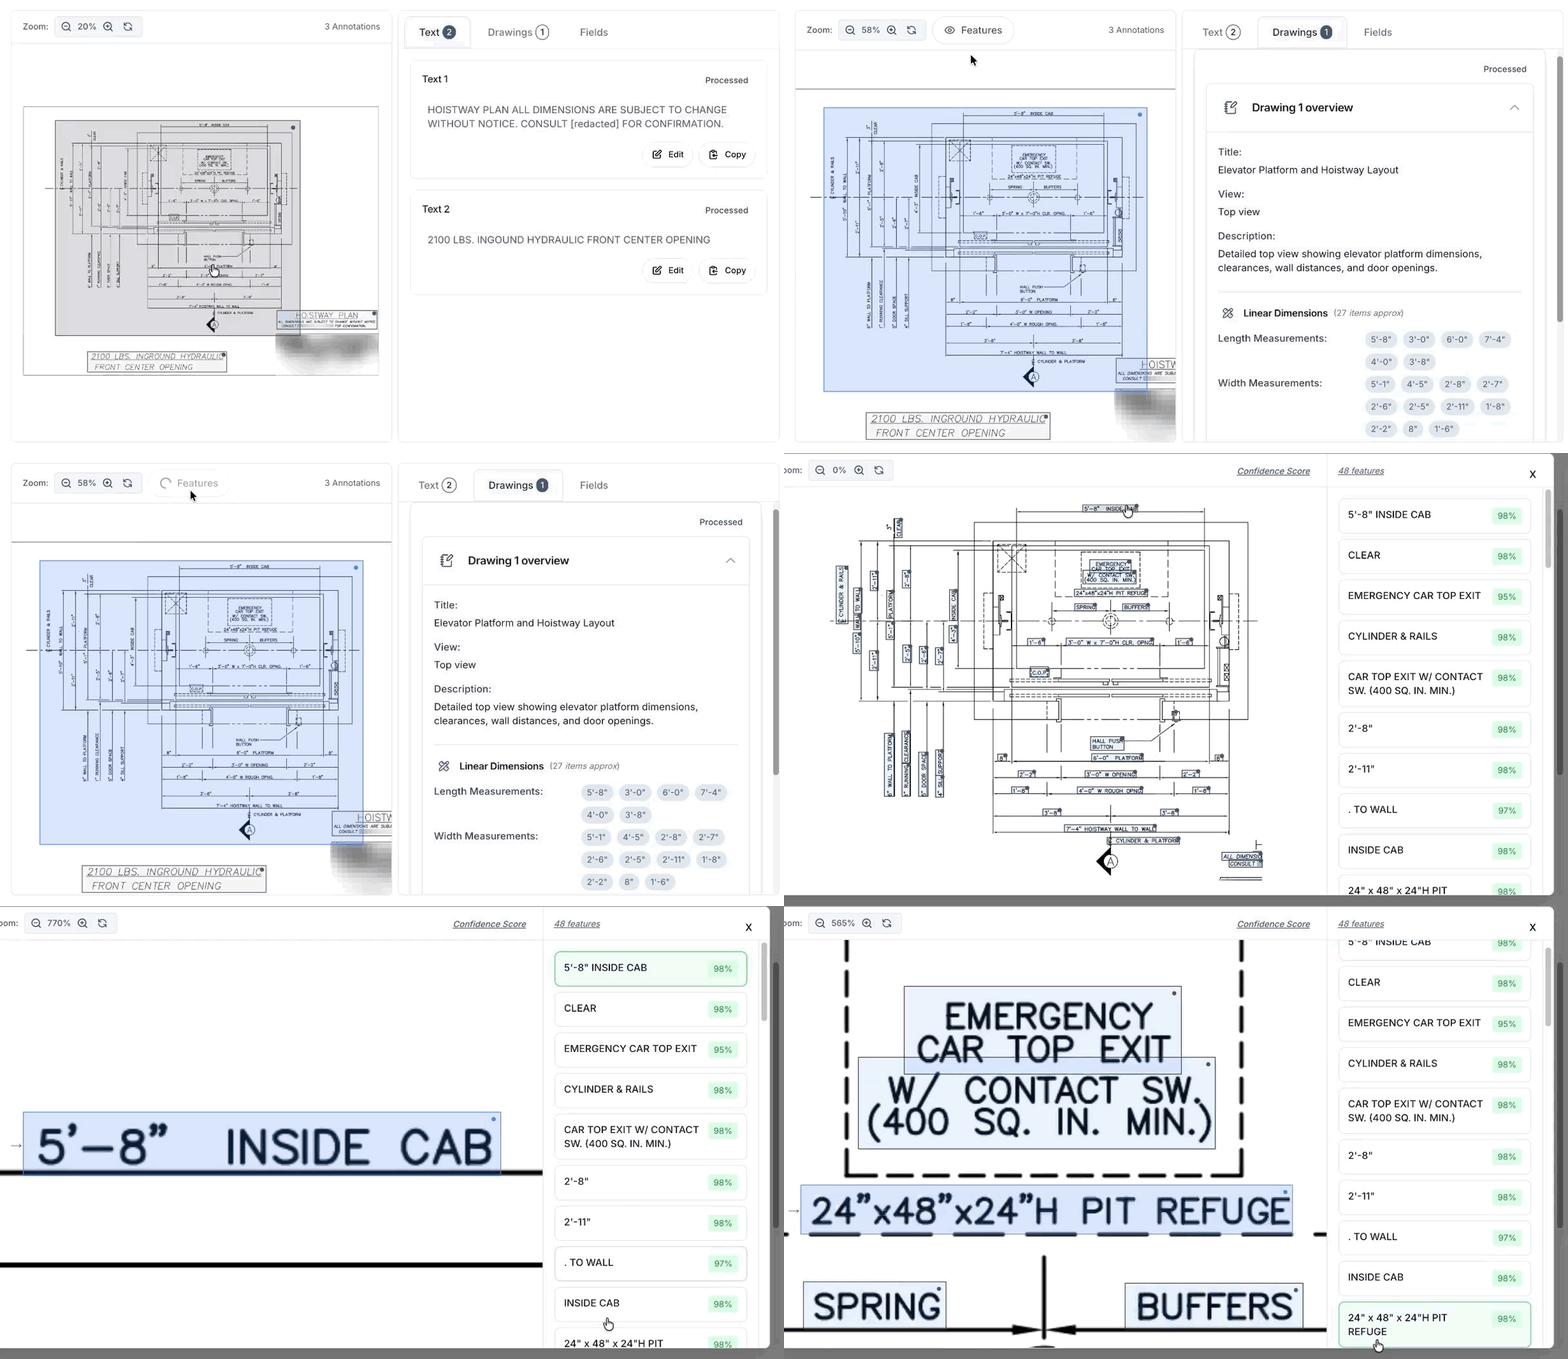
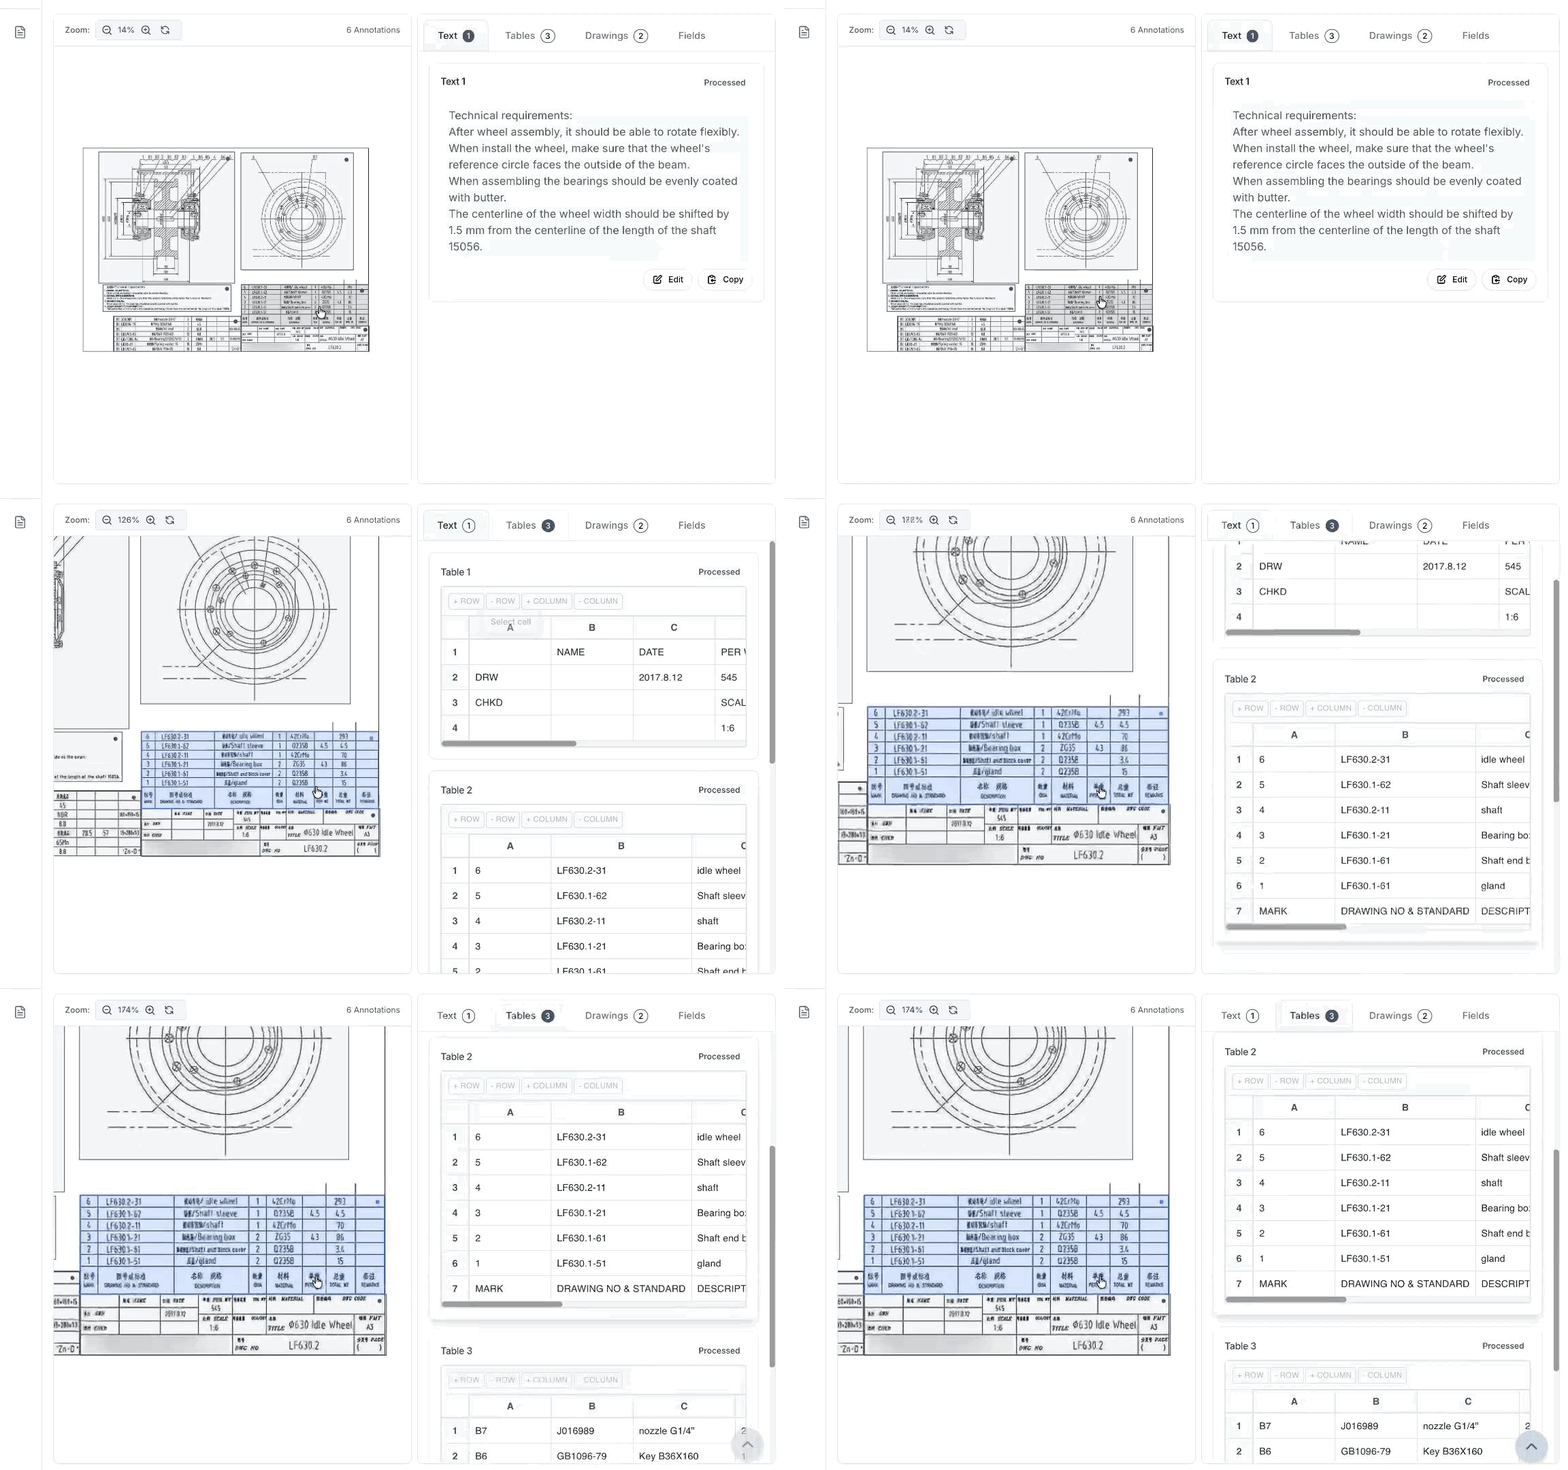
Deployment of computer vision detecting dimension lines, arrows, and leader lines across ASME Y14.5, ISO, and company-specific standards. Technical OCR recognizes numeric values, units, and tolerances in varied formats.
GD&T Recognition and Spatial Indexing
Development of GD&T extraction identifying geometric tolerances with datum references. Spatial indexing captures X-Y coordinates for every dimension to enable position-based matching.
Fuzzy Matching Engine
Implementation of matching algorithm that pairs corresponding dimensions across drawings despite positional shifts, rotations, and annotation differences introduced during recreation.
Visual Reporting Interface
Development of side-by-side reports with color-coded overlays showing green for matches, yellow for mismatches, and red for missing dimensions. Interactive tables enable fast review and sign-off.
Custom Architecture Built
Dual Extraction for Direct Comparison
The same extraction workflow processes both customer-supplied drawings and internally recreated CAD drawings. This creates directly comparable datasets that reveal discrepancies without reviewer bias.
Fuzzy Matching for Recreation Variations
Recreated CAD drawings introduce positional shifts, rotations, and annotation style differences even when dimensions are correct. The matching engine accounts for these variations while identifying actual value and tolerance discrepancies.
Multi-Level Discrepancy Classification
The system categorizes comparison outcomes into exact matches, value mismatches, tolerance mismatches, missing dimensions, and extra dimensions. This enables engineers to address critical issues first.
Visual Reporting with Color-Coded Overlays
Side-by-side annotated reports show green for matches, yellow for mismatches, and red for missing dimensions. Engineers can navigate between visual overlays and tabular summaries for efficient review.
The Outcome
Manual verification reduced from 2 to 3 hours per drawing pair to 10 to 15 minutes
95%+ comparison accuracy regardless of drawing complexity
99% detection rate for missing dimensions
Clear categorization into matches, mismatches, and missing dimensions enabling targeted fixes
Visual reports with color-coded overlays accelerating review and approval
Drawing release cycle reduced by 1 to 2 days per drawing set
Experience Automated Drawing Comparison Today
Ready to see how Adeos can streamline your engineering document workflows?
Browse More Success Stories

Dimension Extraction and Welding Calculations for Power Boiler Manufacturing
Replacing manual drawing review across departments with automated extraction and formula-driven calculations for supercritical boiler fabrication.

Filtered Dimension Extraction for Lift Manufacturing
Extracting dimensions with abbreviations filtering and confidence-scored outputs from engineering drawings at scale.

Adeos Marine: BOM Extraction Across a Global Fleet
Transforming weeks of manual data entry into a 48-hour automated workflow for bill of materials extraction from legacy marine manuals.